Whether you decide to encapsulate early on in pregnancy, or right before birth, the process stays the same. Either way, your specialist is so excited to get to help you with postpartum recovery.
It’s important to make sure the placenta is handled properly, and you should hire a certified Specialist to encapsulate your placenta for you. This assures that it will be processed correctly and not risk contamination.
If you’re curious about the process of encapsulation, and want to know what happens once it’s in the hands of the encapsulator/specialist, read on!
Disclaimer: This article is purely for informational purposes. Do not use this as a guide to encapsulate your own placenta, and always hire a Certified Placenta Specialist to ensure the best outcome.
My baby was just born, now what?
When the placenta is born, it is safe at room temperature for about 4 hours. But, you will want to get it into a labeled freezer bag and into a cooler with ice as soon as possible. Most Specialists recommend that the parents bring their own cooler and ziplock bags to store the placenta until they arrive to pick it up.
Most specialists will arrive within 4-6 hours to pick the placenta up, although they’ll have open communication about their policies if the baby and placenta are born in the middle of the night. For myself, I don’t do pickups between 12am-5am, so I make sure the parents are equipped with the materials and knowledge needed to keep the placenta cold until then.
The standard turn-around time for encapsulation is 24-48 hours, but a placenta is safe to be processed anytime within 3 days of birth (as long as it has been stored properly).
If you don’t have a specialist to encapsulate for you immediately after birth, the placenta is safe in a standard freezer for 6 months, or a deep freezer for 12 months. It can still be thawed and processed by a professional at that point, but anything after that time limit is considered “spoiled”.
The Encapsulation Process
When your specialist begins the process of encapsulation, they start by thoroughly sanitizing their prep space with bleach. The cleaning preparation is one of the most important steps, as it guarantees there will be no cross-contaminations and reduces the risk of blood-borne pathogens. Once the space is cleaned, dried, and sanitized, the process can begin.
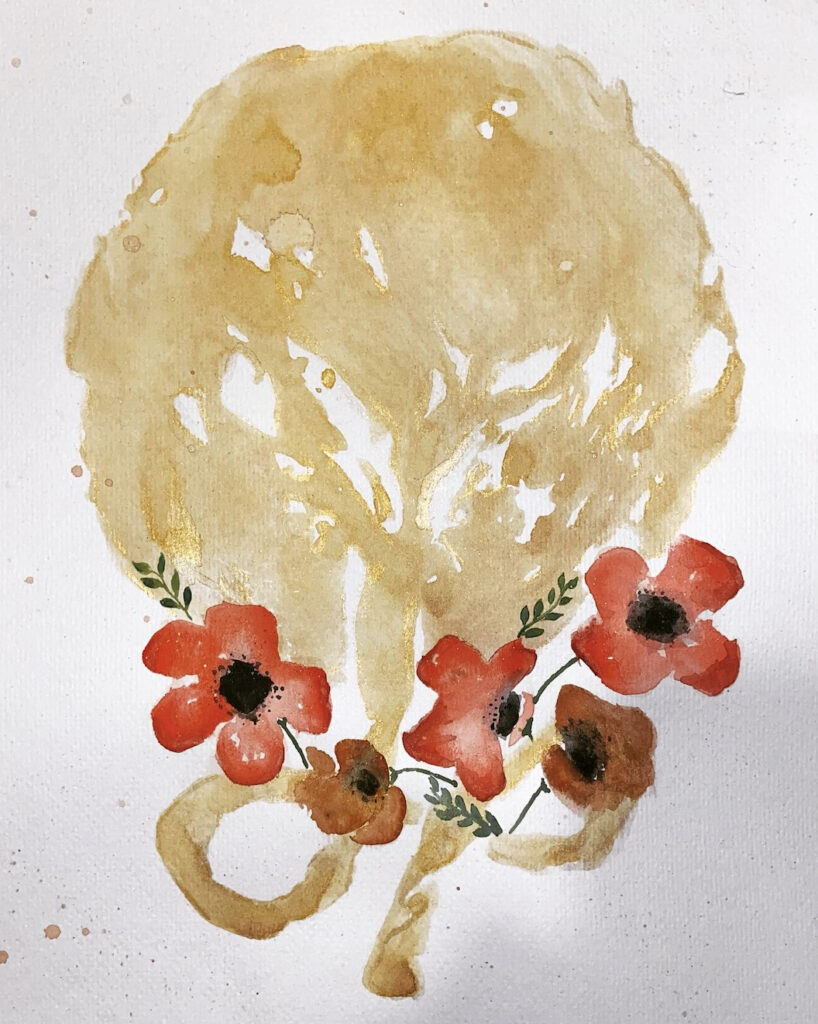
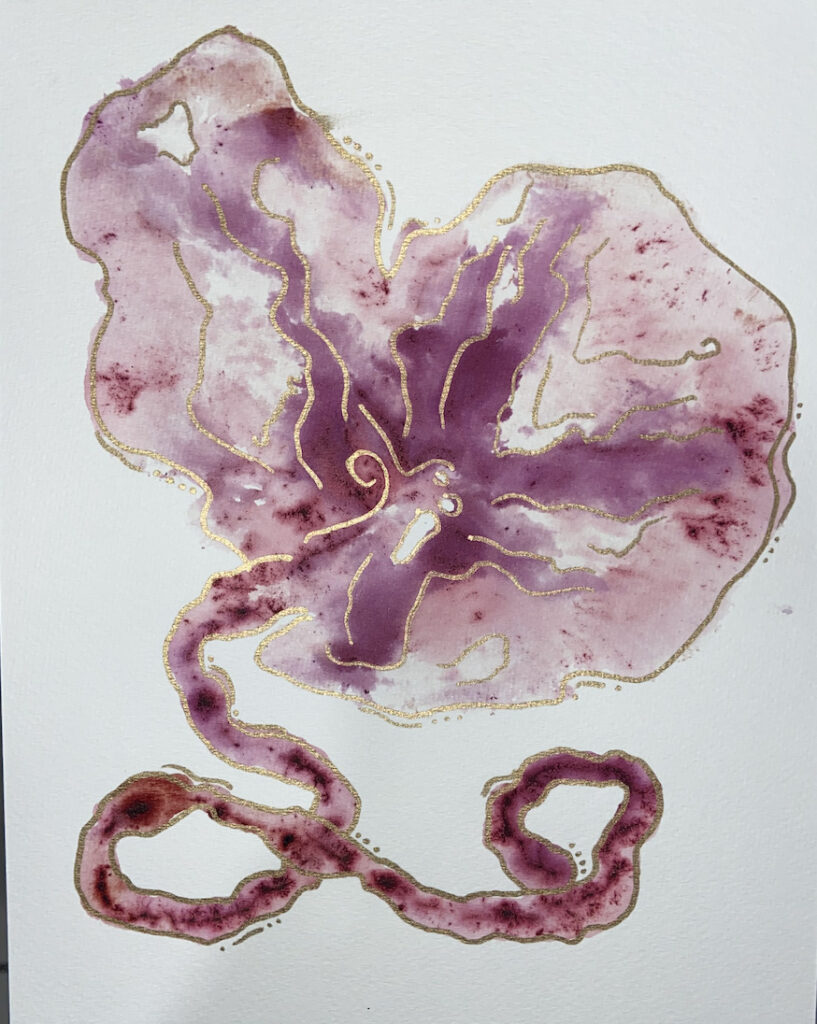
The Specialist will start by cleaning the placenta, removing excess clotting and meconium from the fetal side. If your specialist does placenta prints, this is the point it would be done. Specialists use a food-grade dye (usually made from plants) to map the outline of the placenta and create a gorgeous print as a keepsake for yourself. Since the dye is safe for consumption, it isn’t necessary to clean it off again before proceeding.
Once the prints are complete, the Specialist will begin draining the blood from the placenta. By wrapping the umbilical cord around your hand and pulling tight, you can expose where the cord is inserted into the placenta. They will cut the cord as close to the placenta as possible to easily drain excess blood.
If an umbilical cord keepsake is being made, it will get set to the side, otherwise it will get dehydrated and put into capsules with the remainder of the placenta.
After the cord is removed, the Specialist will cut the amniotic sac off. They will then rise the sac and the placenta under cold water, gently massaging the veins to get the excess blood out. It’s nearly impossible to drain the placenta completely, so it will just be rinsed long enough that it isn’t dripping blood. Placenta and cord blood is rich in iron, hormones and stem cells which have amazing benefits, and will be carried into the capsules.
The umbilical cord and the amniotic sac both contain amazing hormones! If there is a placenta tincture being made, it’s a great option to include a small piece of both in there as well.
Once the placenta is no longer streaming blood, the Specialist will begin slicing or steaming it, based on their preferred method of encapsulation.
The slices are placed on a tray, and dehydrated for a minimum of 12 hours. The umbilical cord keepsake will be shaped and put on the dehydrator as well, but it only takes between 6-8 hours to dehydrate. If it’s left on longer, it will begin to crinkle up and lose its shape.
The Specialist will fully clean and disinfect the space and dispose of biohazardous material, then prepare for the next placenta, or put their belongings away.
When the placenta is fully dehydrated, a prep space will again be cleaned for use.
The encapsulator will grind up the dehydrated strips of placenta, cord, and sac into a fine powder. The powder will be put into capsules for your consumption. The average placenta yields anywhere between 150-200 capsules (depending on the size of capsule used and the gestational age at birth).
Most Specialists will deliver your finished products to your door when they are complete, along with a specific set of instructions for storage and consumption.
For more information on the benefits of placenta encapsulation visit Evidence Based Birth.
If you’re interested in becoming a Placenta Specialist yourself, visit Women's Choice Perinatal Services.